← Back to Paper, Card & Keepsakes
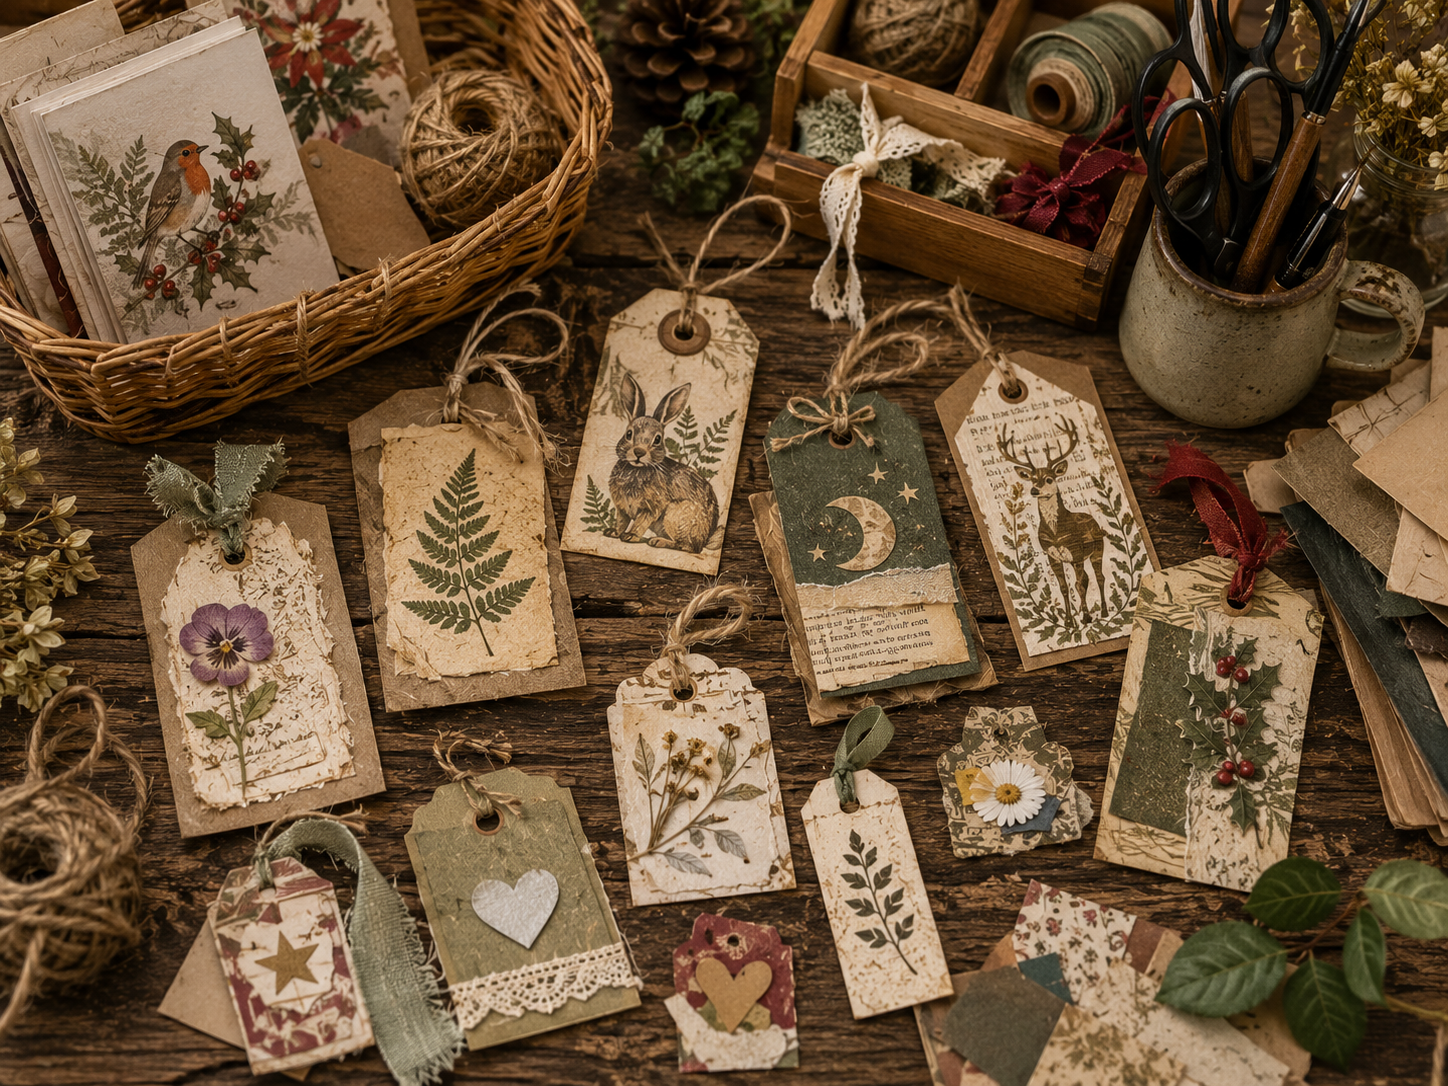
Handmade gift tags created from old greeting cards, recycled card, ribbon, twine and botanical scraps.

Saved, cut, layered and ready to give again

Upcycled Gift Tags

Turn old greeting cards, packaging and paper scraps into thoughtful new tags, each one shaped by what was saved and who it is being made for.

What You Will Need

Materials

  • Old greeting cards
  • Recycled packaging or kraft card
  • Saved envelopes and paper scraps
  • Ribbon, twine, wool or fabric strips
  • Optional lace, stickers, stamps or pressed leaves
  • Glue stick or PVA glue

Tools

  • Scissors or craft knife
  • Metal ruler
  • Pencil and eraser
  • Hole punch
  • Tag template or existing tag to draw around
  • Optional decorative punches

Choose What to Save

Before cutting, look carefully at the card. Small sections often work better than the whole picture.

Good Pieces to Keep

  • Small animals or flowers
  • Borders, patterns and textured areas
  • Stars, moons and seasonal motifs
  • Interesting lettering
  • Plain backs for writing

Useful Backing Materials

  • Cereal boxes and food packaging
  • Kraft envelopes
  • Paper bags
  • Old folders
  • Clean packaging inserts

Keep a small box for card fronts, ribbon pieces and sturdy scraps. Sorting them by colour or season makes future projects much easier.

Make the Tags

  1. Choose the imageCut around a useful part of the old card, leaving a little space around the design.
  2. Cut the backingDraw around a tag template on recycled card and cut it out neatly.
  3. Layer the piecesPlace the decorative card onto the backing and trim until the proportions feel balanced.
  4. Glue carefullyApply a thin layer of glue and smooth the top piece into place from the centre outward.
  5. Add extra detailUse paper scraps, lace, fabric, stamps, handwriting or a tiny pressed leaf if the design needs more character.
  6. Punch the holeMake a hole near the top, leaving enough card around it so the tag does not tear.
  7. Add the tieThread through ribbon, twine, wool or a strip of saved fabric and knot securely.
  8. Write the messageAdd the recipient’s name, a short note or simple care instructions on the back.

Ways to Make Them Personal

Match the Gift

Choose colours, motifs and textures that echo the handmade item, hamper or wrapping.

Use a Favourite Motif

Look for squirrels, owls, bees, flowers, moons, woodland scenes or anything meaningful to the recipient.

Add a Memory

Use a copied photograph, handwriting, recipe fragment or small piece from a card with sentimental value.

Create a Matching Set

Make several tags from one card or colour palette for birthdays, seasonal gifts or a whole hamper.

Practical Finishing Ideas

For Reuse

  • Write the name on a removable paper strip
  • Leave space for several future names
  • Use a small chalkboard-style label
  • Add a loop strong enough to untie

For Gifting

  • Bundle a set with ribbon
  • Store them in a small envelope
  • Add spare ties
  • Include them with wrapping paper or a hamper

Avoid using glitter that sheds easily, sharp embellishments or anything unsuitable for gifts handled by young children or pets.

A Little Message to Include

Copy this onto the back of a tag or onto a small matching card.

Made and Chosen for You

Wrapped with care,
tied with thought,
and given with love.

Further seasonal tag messages, printable shapes and matching gift-card sets will be added to the Cottage Market in time.

Give the Paper Another Life

A card does not stop being useful when its first message has been read. Saved carefully, it can become part of another gift, another moment and another story.