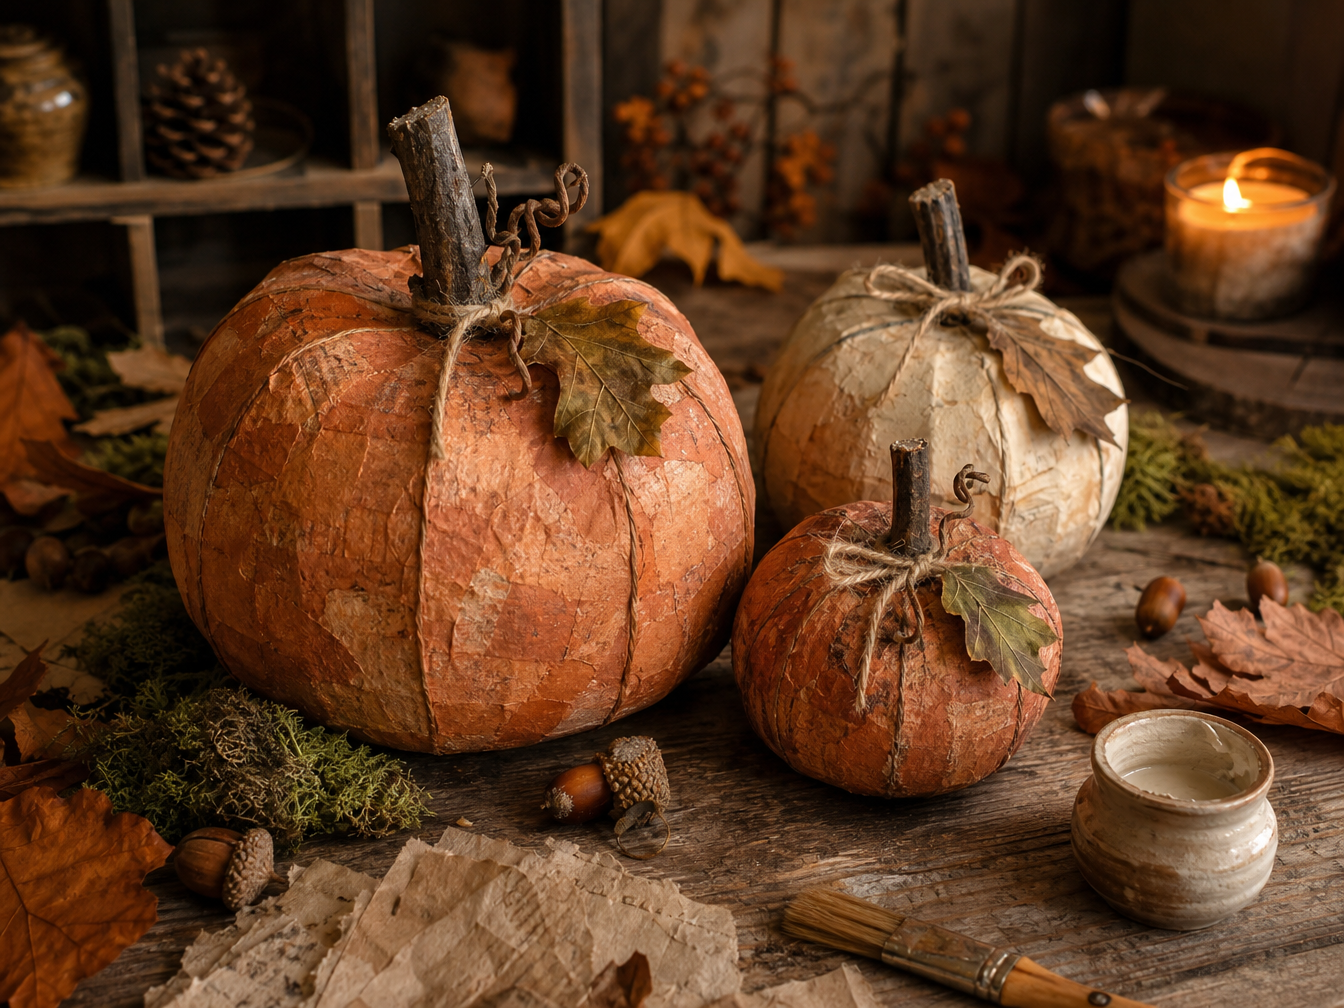
What You Will Need
Materials
- Newspaper, scrap paper or brown packing paper
- PVA glue
- Water
- Masking tape
- A small balloon or scrunched recycled paper
- Acrylic or poster paint
- A small twig, cinnamon stick or rolled paper for the stem
- Twine or raffia
Optional Extras
- Dried autumn leaves
- Moss
- Small wooden or paper tags
- Copper or gold paint
- Cinnamon or cloves for decoration
- Mod Podge or clear craft varnish
- Small wooden buttons
Create the Pumpkin Shape
A little unevenness is part of the charm. Real pumpkins are rarely
perfectly round, and your handmade one does not need to be either.
-
Make the centre
Inflate a small balloon, or scrunch recycled paper firmly into a rounded shape.
If using paper, wrap masking tape around it so that it holds together securely.
-
Add the pumpkin ridges
Use extra strips of paper or lengths of masking tape to create gentle
divisions around the pumpkin.
-
Check the shape
Turn the pumpkin around in your hands and adjust any areas that feel too flat.
Do not worry about making every section identical.
Slight dents, wrinkles and uneven curves will make the finished pumpkin
look more naturally handmade rather than factory-perfect.
Add the Papier-Mâché
-
Tear the paper
Tear newspaper or scrap paper into manageable strips. Torn edges blend
together more easily than neatly cut ones.
-
Mix the paste
Combine approximately equal parts PVA glue and water in a small bowl
until the mixture is thin enough to spread easily.
-
Cover the pumpkin
Dip each strip into the mixture, remove excess paste and smooth it
over the pumpkin shape.
-
Build the layers
Continue until the whole pumpkin is covered. Add two or three layers,
allowing the surface to dry between layers where possible.
-
Leave it to dry
Place the pumpkin somewhere warm and dry until it feels completely firm.
Depending on its size and thickness, this may take a day or two.
Make sure the pumpkin is completely dry before painting or sealing it.
Trapped moisture can soften the paper beneath the finished surface.
Paint the Harvest Colours
Autumn does not have to mean bright orange. Look to pumpkins, leaves,
woodland paths and fading grasses for a softer harvest palette.
Try These Shades
- Burnt orange
- Soft pumpkin
- Warm cream
- Russet brown
- Deep ochre
- Moss or sage green
Add a Little Depth
- Brush a darker colour gently into the ridges
- Dry-brush lighter paint over raised paper texture
- Add a little copper around the curves
- Use gold very sparingly for a soft harvest glow
- Leave some texture visible rather than covering every mark
Finish the Pumpkin
-
Add the stem
Make a small opening at the top if needed, then insert a short twig,
cinnamon stick or tightly rolled piece of paper. Secure it with glue.
-
Tie on some twine
Wrap a small length of twine or raffia around the stem and tie it loosely.
-
Add something gathered
Tuck in a dried leaf, tiny piece of moss or another small natural detail.
-
Add a final decoration
If you wish, attach a handwritten tag, wooden button, painted acorn
or another simple autumn embellishment.
-
Seal it if needed
A light layer of clear craft varnish or Mod Podge can help protect
the surface if the pumpkin will be brought out year after year.
Keep the finishing touches simple. The paper texture and handmade shape
should remain part of the pumpkin rather than being hidden beneath decoration.
A Little Mabon Secret
Before the final layers of paper are added, give your pumpkin something
quiet to keep.
A Harvest of Gratitude
Write one thing you are grateful for
on a small scrap of paper,
fold it gently,
and hide it inside the pumpkin.
Each year can hold a different memory, gratitude or moment from the harvest season.
Make a Little Pumpkin Patch
Vary the Shape
Make some small and round, others tall, squat or slightly lopsided.
A mixed collection feels far more natural than a row of matching pumpkins.
Vary the Colour
Mix orange, cream, russet and muted green pumpkins together for
a softly weathered autumn display.
Gather Around Them
Display the finished pumpkins with fallen leaves, acorns,
pine cones, seed heads or other seasonal finds.
Make One Each Year
Create a new pumpkin every Mabon and gradually build a collection
of little harvest keepsakes holding memories from years gone by.
Perfectly Imperfect
Papier-mâché is wonderfully forgiving. A wrinkle, a dent or an uneven
ridge is not necessarily something to correct. Real pumpkins grow in
peculiar shapes too, and sometimes the imperfect one has the most character.