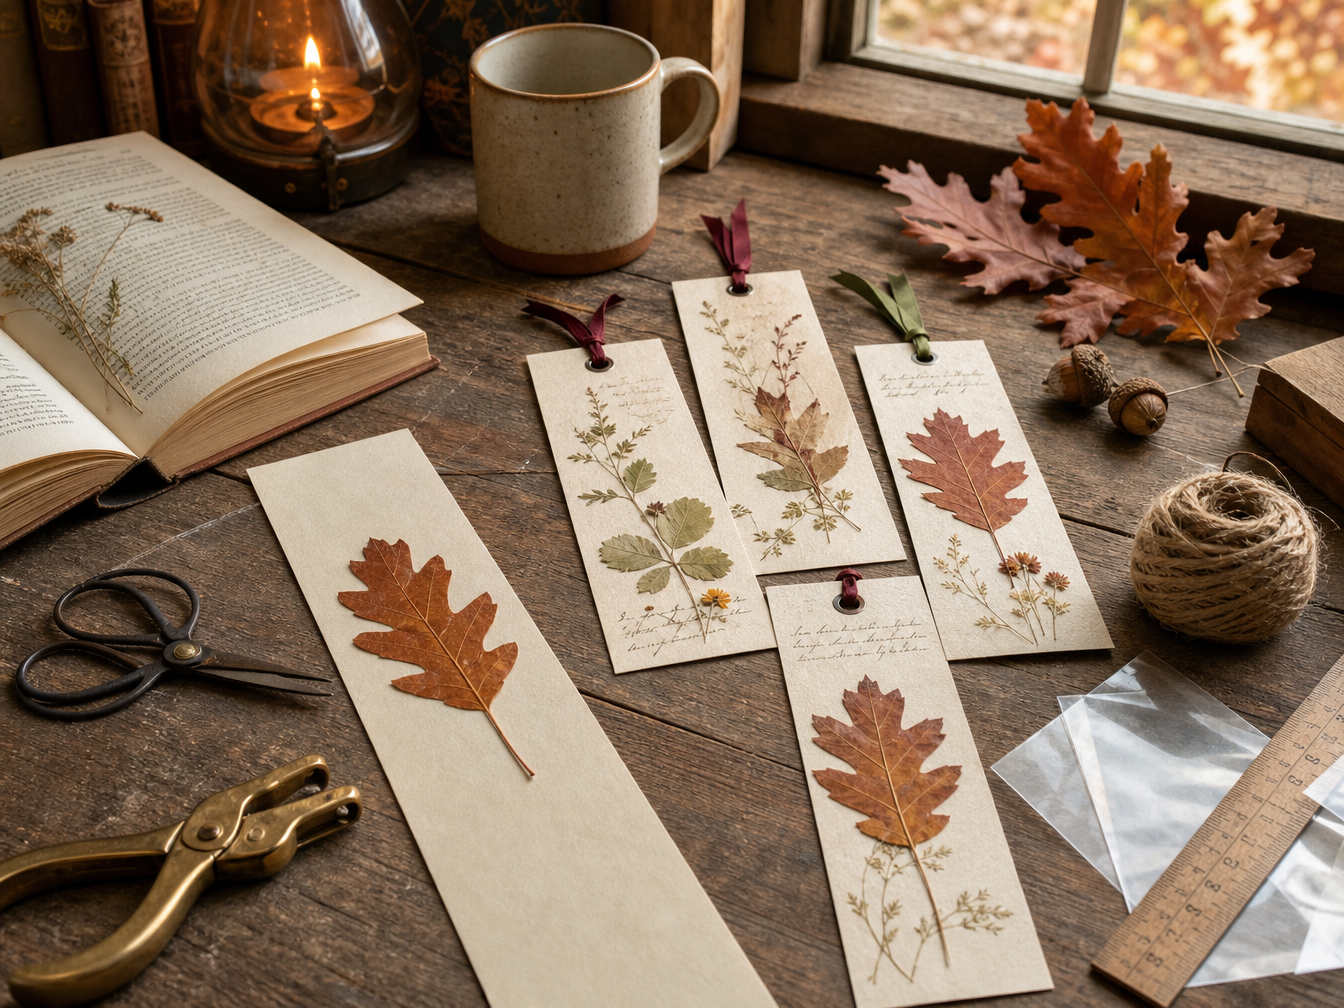
🌿 Zahirwen's Note
One of my favourite things about these bookmarks is that no two are ever the
same. A single fallen leaf can remind us of a woodland walk, a favourite tree,
a holiday, or someone we shared the day with.
When I gather leaves, I never rush. I let the woodland decide what it wishes to
offer. Often the most beautiful bookmark isn't made from the brightest leaf,
but from the one that quietly catches your eye.
🍂 Cottage Tip: I usually collect a few different leaves during
Autumn, press them between the pages of an old telephone directory or heavy
book, and leave them there until inspiration arrives.
Gather Your Supplies
Materials
- Pressed leaves, ferns or small flowers
- Thick card or handmade paper
- PVA glue or decoupage medium
- Clear self-adhesive film, laminating pouch or craft sealer
- Ribbon, twine or fine cord
- Optional: pressed-paper backing or fabric scraps
Tools
- Scissors or craft knife
- Metal ruler
- Pencil and eraser
- Hole punch
- Fine paintbrush
- Heavy books or a flower press
- Clean paper for pressing
🍂 Gathering Kindly
A beautiful bookmark begins with respectful gathering.
Good Materials to Use
- Fallen leaves in good condition
- Small garden leaves or flowers you have permission to pick
- Herbs from your own garden
- Florist offcuts
- Pressed botanical craft supplies
What to Avoid
- Protected or rare plants
- Collecting from nature reserves without permission
- Taking large amounts from one place
- Plants you cannot identify safely
- Wet, mouldy or damaged material
Ask permission before gathering on private land and follow local rules for
protected places. Take only a little, leave plenty behind and avoid disturbing
wildlife or habitats.
🪴 Press Your Leaves
-
Choose flat, clean pieces
Pick leaves, fern fronds or tiny flowers that are dry and free from damage.
Very thick or fleshy plants are less suitable because they retain moisture.
-
Arrange between clean paper
Place each botanical between two sheets of plain absorbent paper. Spread the
leaves and petals into the position you want them to keep.
-
Add weight
Place the paper inside a heavy book and stack more books on top, or use a
flower press.
-
Leave them to dry
Press for around one to three weeks depending on thickness. Replace damp
paper during the first few days if needed.
-
Check before using
The botanicals should feel completely dry and papery. If they remain cool,
soft or flexible, press them for longer.
✂️ Bringing It Together
-
Cut the base
Cut a strip of thick card approximately 5–6cm wide and 16–19cm long. Round
the corners if you prefer a softer shape.
-
Plan the arrangement
Place the pressed botanicals onto the card without glue first. Try one tall
fern, a small group of leaves or one simple flower rather than overcrowding it.
-
Fix the botanical in place
Lift each piece carefully and brush a very thin layer of glue beneath it.
Smooth it gently with a clean dry brush.
-
Allow it to dry
Leave the bookmark flat until the glue is completely dry. Place clean paper
and a light book on top if the card begins to curl.
-
Protect the surface
Cover both sides with clear self-adhesive film, laminate it or apply a suitable
clear craft sealer. Trim neatly around the edges.
-
Add the finishing hole
Punch a hole near the top, leaving enough card around it so the edge remains
strong.
-
Add ribbon or twine
Thread through ribbon, cotton cord, wool or natural twine and knot securely.
A single fern or leaf often looks more elegant than a crowded design. Let the
natural shape do most of the work.
Make It Your Own
Add a Quiet Message
Write a short quote, name, date or memory on the back before sealing the
bookmark.
Choose a Meaningful Plant
Use a leaf from a favourite walk, herb from a family garden or flower from
a special occasion, provided it can be gathered responsibly.
Change the Base
Try handmade paper, recycled card, fabric-backed paper or a soft wash of
natural colour.
Create a Small Set
Make several bookmarks using related plants, colours or shapes and present
them together with a second-hand book.
🎁 Ready to Gift
Presentation Ideas
- Tuck it inside a chosen book
- Place it on a kraft card backing
- Wrap it in tissue or a small paper sleeve
- Tie it with linen thread or soft ribbon
- Add it to a reading hamper
Care Note
- Keep the bookmark dry
- Avoid direct sunlight when not in use
- Do not bend or fold sharply
- Store flat between pages
- Handle delicate unlaminated pieces with care
📝 A Little Cottage Blessing
Copy this onto a small tag or onto the back of the bookmark before sealing it.
Between the Pages
A leaf from the living world,
a place kept between the pages.
May every story carry you somewhere,
and every return bring you gently home.
Until the Next Walk
A pressed bookmark is a very small gift, but it can hold the memory of a garden,
a path or a season. Gather carefully, make simply and let the natural shape tell
most of the story.