← Back to Paper, Card & Keepsakes
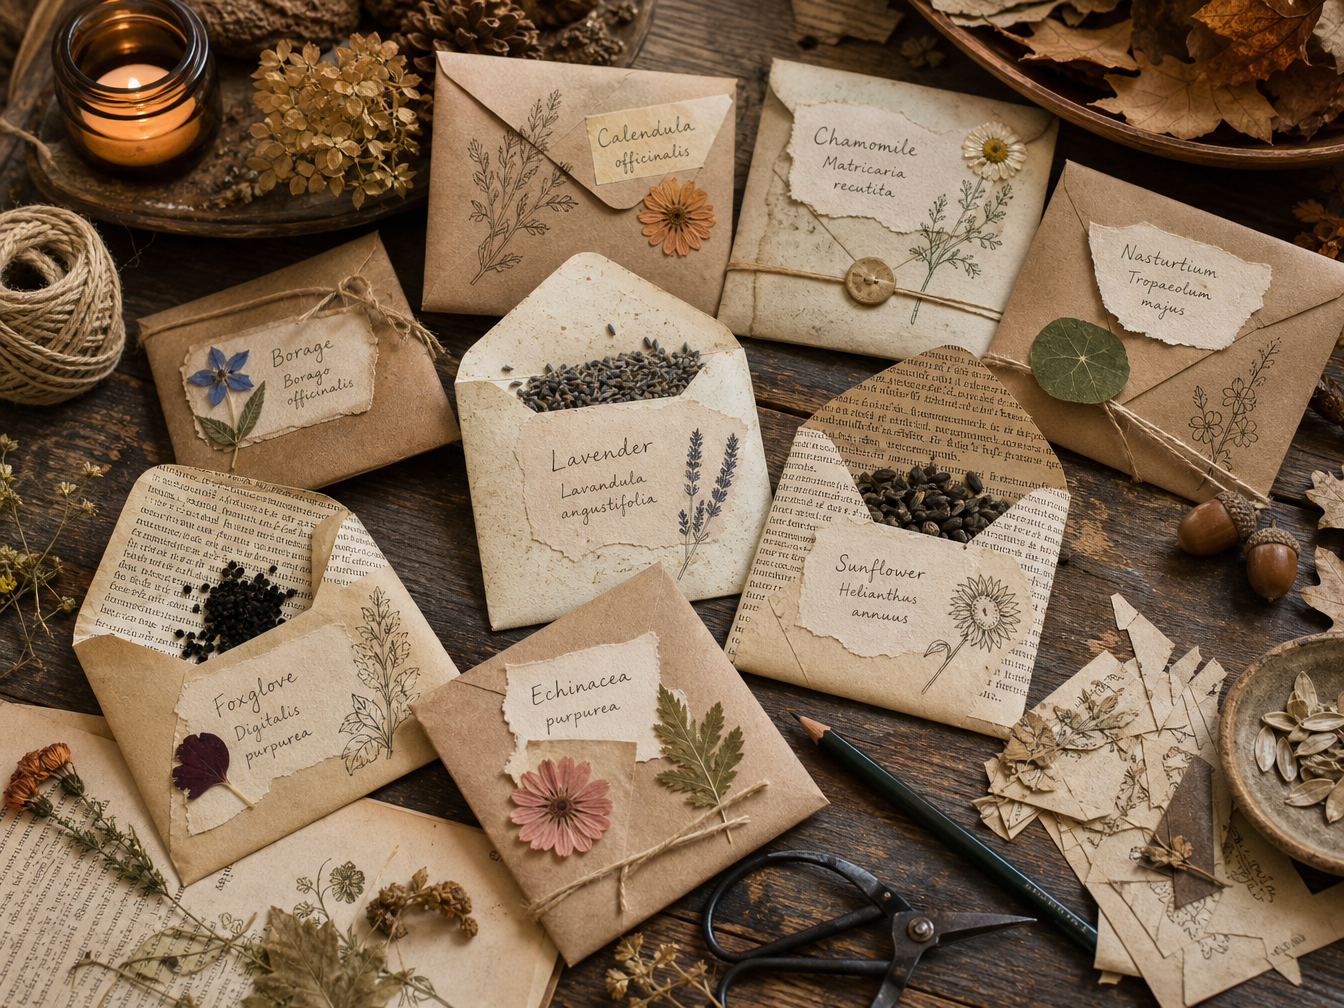
Handmade autumn seed envelopes made from kraft paper, recycled paper and botanical paper scraps.

Gathered, labelled and saved for another season

Autumn Seed Envelopes

Make simple rustic envelopes for storing seeds gathered from the garden, turning paper scraps into useful little keepsakes that hold the promise of next year’s growth.

What You Will Need

Materials

  • Kraft paper, recycled paper or lightweight card
  • Old book pages, sheet music or saved paper scraps
  • Glue stick or PVA glue
  • Labels or plain paper for writing on
  • Seeds that are fully dry

Tools

  • Scissors
  • Pencil
  • Ruler
  • Seed envelope template or a simple folded pattern
  • Pen or fine liner for labelling
  • Optional hole punch

Choose the Paper

Pick paper that folds neatly but is strong enough to keep seeds safe. The envelope can be plain and practical or softly decorative.

Lovely Paper Choices

  • Kraft paper for a rustic cottage feel
  • Old book pages for a vintage look
  • Saved wrapping paper or patterned scraps
  • Plain cream or brown paper for easy labelling
  • Recycled paper bags or packaging

Good Things to Remember

  • Very thin paper may need backing
  • Busy patterns can make labels harder to read
  • Darker paper may need a separate label panel
  • Smooth paper is easier to write on neatly
  • Keep sizes suitable for the seeds inside

If you make several at once, using a matching paper palette helps them feel like a proper little collection.

Make the Envelope

  1. Draw the shapeUse a seed envelope template or sketch a simple one with a central body and folding flaps.
  2. Cut it outCut around the template neatly so the edges line up well when folded.
  3. Fold before gluingLightly score fold lines if needed, then fold each flap inward to test the shape.
  4. Glue the sidesApply glue to the side flaps and press them into place, leaving the top flap open.
  5. Let it dry flatAllow the envelope to dry fully before filling it with seeds.
  6. Add the seedsOnce dry, place the seeds inside carefully and fold the top flap down.
  7. Label the frontWrite the name of the plant and any other details you want to keep.

What to Write on the Envelope

Basic Details

  • Plant name
  • Variety
  • Date collected
  • Colour
  • Where it was gathered

Helpful Notes

  • Best month to sow
  • Sun or shade
  • Annual or perennial
  • Whether pollinators loved it
  • Whether you would grow it again

Ways to Decorate Them

Keep Them Rustic

Leave the paper mostly plain and use only a handwritten title, date and simple border for a softly old-fashioned look.

Add Botanical Details

Draw or stamp leaves, seed heads, berries, herbs or little flowers around the edge of the envelope.

Use Pressed Pieces

Add a tiny pressed petal or leaf if it suits the plant inside and does not make the envelope too bulky.

Make a Matching Set

Create a whole collection in one style so they look beautiful stored together in a box, tin or basket.

Only store seeds when they are properly dry. Any moisture left in them can cause the contents to spoil.

A Little Mabon Touch

Saving seeds is not only practical — it is also a quiet act of faith in what comes next.

For Another Season

A small seed saved today,
a quiet hope kept safe,
and the promise of growth
carried forward into another year.

Each envelope becomes a tiny record of what was grown, what was gathered and what is worth saving.

Make It a Gift

Lovely Things to Include

  • A bundle of handmade seed envelopes
  • A few saved seeds
  • A handwritten planting note
  • A pressed flower
  • A small plant marker

Perfect For

  • A gardener friend
  • A seasonal hamper
  • A garden journal basket
  • A Mabon gift
  • Your own seed-keeping box

Saved for What Comes Next

Saving seeds is a gentle way of honouring the harvest. What has finished its season is not truly lost, only gathered, tucked away and trusted to return in its own good time.